Since the arrival of a MakerBot Replicator 2 at the Jam3 office in January, I’ve been 3D printing quick prototypes for work and personal projects. There are some amazing 3D models you can download and print off Thingiverse, but I’ve found it’s more rewarding to break out the digital calipers and create your own models in SketchUp.
The Replicator 2 has its quirks. The build plate needs to be leveled before each print if you want a quality output. I feel the three thumb screw for leveling and positioning the nozzle is awkward and prone to error. If you are printing smaller objects, the machine can be forgiving. I was; however, printing larger pieces for an Arduino enclosure that took up most of the build plate, leading to minor warps and imperfections. The prints were perfectly usable, but aesthetically imperfect. The Delrin plunger on the extruder is problematic and doesn’t feed the filament well. The screw you tighten to apply tension to the filament easily strips the plastic walls of the extruder making it impossible to tighten. This extruder upgrade has been used with some success by those in in the 3D printing community, and MakerBot has even conceded with their own version of this extruder alternative. MakerWare also had issues with models not fitting on stage, but I think the software bugs and features have improved a lot since I used it last. We also had an epic nozzle jam, but that’s an issue common with all 3D printers especially if you’re using poor quality filament. To fix our jam I used this walk through to dissassemble the extruder. We had a clog in the threaded rod portion of the extruder. Once you take apart the Replicator 2 extruder, it is very difficult to put back together again. This is another method of clearing the Replicator 2 nozzle, which I have yet to try.
After spending some time away from the office, I decided to reprint some of my models using a 3rd party who has their own Prusa Medal 2 hybrid. I noticed the pieces I was getting back were much cleaner and slightly higher resolution than my original pieces . They were also printed in ABS rather than PLA. The number of parameters you can tweak in Slic3r (sofware that slices model and generates a G-code file for the RepRap to print) are numerous, ranging from different in-fill patterns, to envelope thickness per layer, and to heat bed temperature per layer to name a few.
It felt odd and slightly nefarious meeting my RepRap dealer at a Tim Hortons and to exchange $ for my 3D parts, especially since I could build and run a RepRap myself.
So I decided to build a RepRap. It’s a logical decision for someone who is patient and likes to build things, especially since it costs 1/4 of the price of a Replicator 2 and prints objects that are on par if not slightly better. Once you make this decision you must then decide which RepRap to build.
Which RepRap is right for me?
- You could go with a MendelMax if you want a big print envelope (build area of about 9″x10″x7″ or 23cm x 25cm x 17.5cm).
- You could go with a Prusa Mendel V2 that has a large community of support and a lot of spare parts behind it. This video explains why the Prusa Mendal V2 “sucks”.
- Or you could go with the Prusa i3 which is fairly new and evolving in design.
I decided to go with option 3, because the of the extra rigidity of the frame and fewer required parts. The i3 also has a slightly larger print envelope than the V2 (8″x8″x7.25″ Vs. 8″ x 8″ x 6.25″). I went with a kit from MakerFarm, to save on shipping of parts and based on good reviews I’ve read in RepRap forums and colleagues.
I ran into a few obstacles building this kit. What normally should have taken “3.5 hrs” to build took me almost 2 months due to issues with the kit, and the fact that I’m a full time dad and was building it in my free time at night. The belt that came with the kit was 1.5 inches too short, it was missing some fasteners for the spool tower and the D10 port on my RAMPS electronics board wasn’t supplying power, resulting in the hot end not heating up. I had to get a replacement belt and RAMPS board. Despite all the issues I had with the kit, Colin at MakerFarm, was really good with support and replied to my emails promptly.
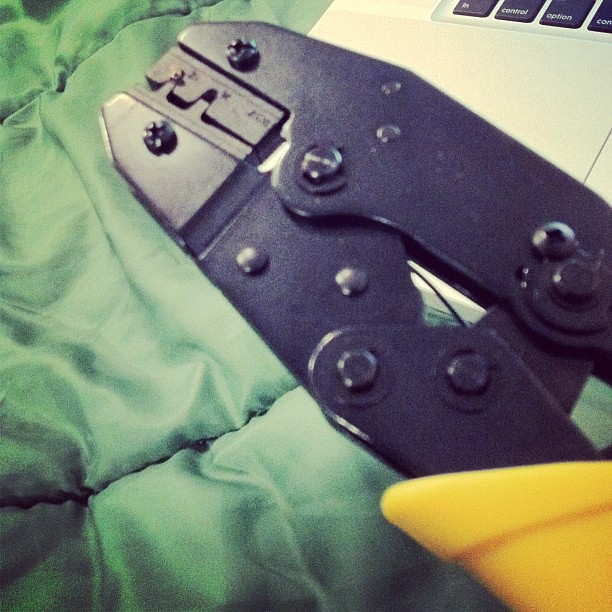
The only special tools you need for this kit are a soldering iron and a d-sub crimp tool.
I’ve never used a crimp tool before so I had to look up some tutorials to make sure I was doing it right. Crimping is much easier than soldering two wires together.
D-Sub crimp tool
Some additional parts you need to complete the kit are a piece of 215mm X 204mm glass and a PSU. You don’t need fancy heat resistant glass (Borosilicate). I got two sheets of glass from a framing store for $5. I’m using a Antec VP-450 450W ATX 12V v2.3 Power Supply PSU. Kapton tape has been used on print surfaces to promote ABS adhesion. Real Kapton tape is expensive, and you DON’T need it. Hairspray is a great and inexpensive alternative to Kapton tape. I’m using Fructis Style Hold & Flex Ultimate Control spray (Colin’s recommendation) which you spray on the glass while cool. Once the spray is set you are ready to print. The i3 has a lot wires, and during a print there can be wire strain. It’s a good idea to get some wire wrap to organize your wires so they don’t get yanked while a print is in progress. I used chrome plated wire wrap that’s normally used for motorcycles.
When I finally had all the correct / functioning parts I was able to set home positions for XYZ axises and test the extruder using Pronterface:
Prusa i3 RepRap – Testing Greg’s Accessible Extruder and Setting Endstops and Homing the X, Y and Z Axises from insultcomicdog on Vimeo.
Setting the Z home position for the Prusa i3 is IMO much easier than the MakerBot Replicator 2. The build plate is pretty much balanced once the printer is assembled. To set the nozzle height, all you have to do is turn a single screw clockwise or counter-clockwise until it hits the Z end stop switch. You can slide the X carriage and build plate around to test different positions on the plate. If the side of the bed opposite the switch is higher or lower you can adjust the height by holding both the m5 threaded rods and turning one.
The next step was printing a test cube. This didn’t go so well.
Prusa i3 RepRap – Blobby Infill from insultcomicdog on Vimeo.
The first three or four layers of my print would be fine, but as the printer began the infill the filament would get all blobbly and messy. The infill should only have been 40% full, but the infill was actually solid. It looked like the flow rate was too high, so in the solid layers of the cube where there is no place for the plastic to go, it would just build up over the nozzle.
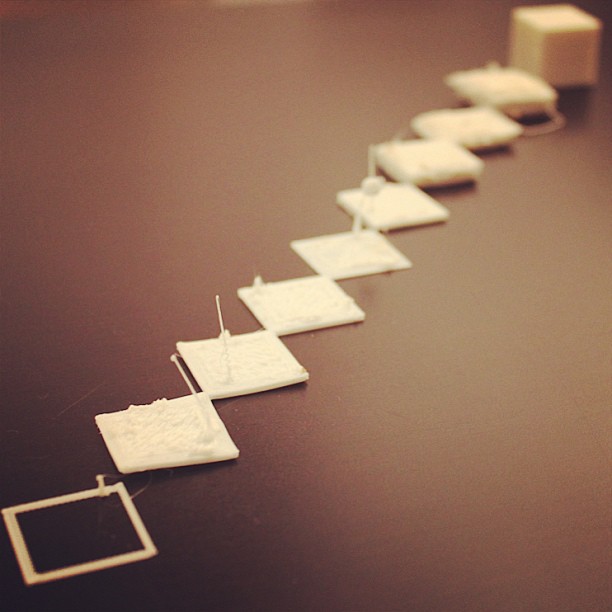
Patience is the most essential ingredient on the road to success. These are some of my attempts at printing a calibration cube before my Eureka moment.
Fixing Blobby Infill
I was using Slic3r 0.9.10b to slice and generate my G-code files. When I reverted to Slic3r 0.9.9 my calibration cube printed fine.
Prusa i3 RepRap – Printing Hollow Calibration Cube from insultcomicdog on Vimeo.
Fixing Flow Rate
While debugging the blobbing phenomena, I tested the rate of flow by marking off 100mm of filament, and setting 100mm to extrude via Pronterface. When I did this I noticed the printer was extruding 104mm of filament (+4%). To fix this open up the RAMPS firmware in the Arduino software in the Configuration.h tab on line 282 it will look like this:
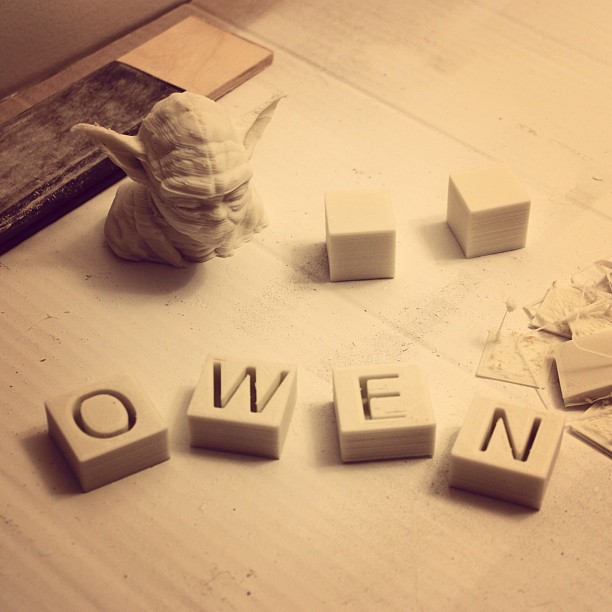
[code]<br />#define DEFAULT_AXIS_STEPS_PER_UNIT {80,80,4000,945} // default steps per unit for ultimaker {78.7402,78.7402,200*8/3,760*1.1}920<br />[/code]After a two successful consecutive cube prints I decided to print the obligatory Yoda:
Prusa i3 RepRap – Printing Yoda from insultcomicdog on Vimeo.
Voronoi Yoda maybe next…
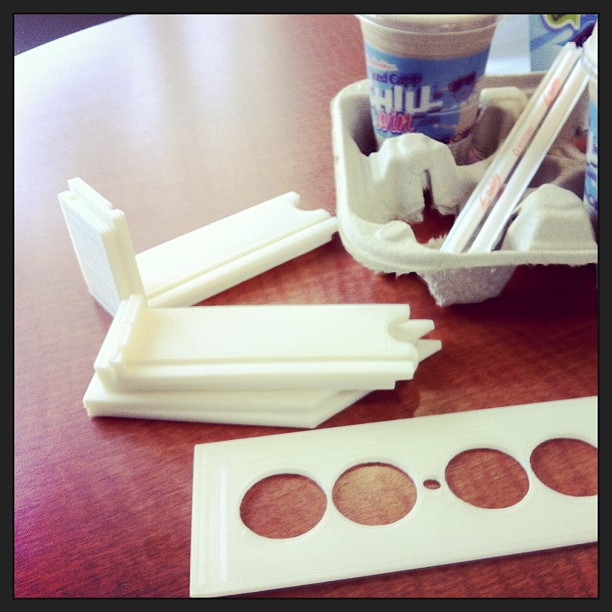
I printed some blocks for my son Owen.
Self replication is a beautiful thing. Printing spare extruder parts for my i3 WITH my i3. #RepRap #Prusai3
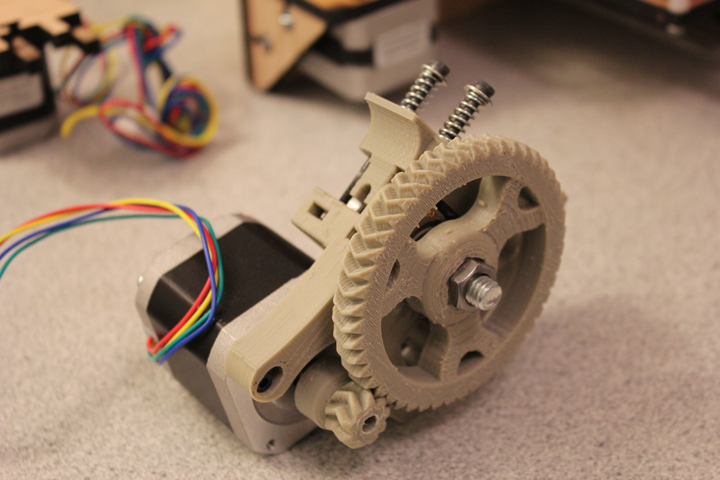
Oval gears aren’t of any use to me. I tightened one loose bolt and I’m finally fully tuned and winning. #Prusai3 #RepRap
3D printed an iPhone case for my brother-in-law who starts university tomorrow. #Prusai3 #thingiverse #guelph #gryphons
Overall I would say this i3 kit is fairly easy to put together. MakerFarm support really pulled through when I was stuck. Having some experience with 3D printing helps, but it’s not necessary. Once I got past the issues with Slic3r, my prints so far have been better than my first attempts with the MakerBot. Most of my prints on the Replicactor 2, have slightly lifted or sagging corners (likely due to an unbalanced bed or incorrect Z home position). The heated bed with hair spray on the i3 really helps with model adherence to the bed, and helps solve warping issues. In my limited experience with these two printers, print quality has been better with ABS than PLA.
Update (September 27, 2013):
After using the MakerFarm i3 for a few months, I’ve found that the heated bed could benefit from a mod to help with leveling (mostly an issue with larger prints). Leveling the X axis can be achieved by adjusting one or both of the threaded Z rods. The Y axis can’t be leveled easily because the bed is fixed to the Y carriage with four nylon spacers. I’m going to try and replace the nylon spacers with springs and taller M3 screws to see if that will help with leveling.
Update (December 19, 2013):
In the spirit of the holiday season, my i3 & Jam3’s Rep2 collaborated 2 print a ‘traditional’ Xmas gyrornament. #thingiverse #makerbot #hohoho #prusai3
This is a build log of my first RepRap.
[embpicasa id=”5897735467566666769″]

R Stabile
Aug 23, 2013 -
I hadn’t visited your page in a long time, but I followed a link on Facebook. SJ, this stuff is amazing. Really impressive!
Giorgos K
Aug 30, 2014 -
Really great stuff here.One question only would you recommend a Da vinci 3d printer or going for a prusa i3?Thanks In advance